Previous related posts:
- Choosing your first Arduino
- How To Install, Set Up and Upload Code
- How to code your Arduino
- How to communicate with serial
What are variables?
Variables used to store values that may change either during development, or, during the operation of the Arduino board. You can think of them as storage boxes where the value contained can be retrieved by calling their name.
They can be named almost anything (excluding spaces and some special characters) but the typical naming convention is to start with a lowercase letter and capitalise each additional word. For example: myFirstVariable. It’s also advised to make your variable names meaningful rather than generic.
The values variables contain can be changed during code execution, or checked to see if a specific scenario has been met.
How to use variables
Microcontrollers such as those used in Arduino boards have a limited amount of memory. That’s the place where your code and variables are stored. So, when we ‘initialise’ a variable (bring it into existence in our project), we need to specify what type of variable it is. This tells the compiler (the system that converts the program to machine code) how much memory needs to be reserved for the variable.
Initialising a variable looks like this (remember lines that start with // are just comments and don’t form part of the code):
// data type    variable name    assignment operator    value    semicolon
//    int           score                 =               1          ;

int score = 1;
In this example, we set the value to 1 at the same time as initialising the variable. You can just initialise the variable without setting the value, as below:
int score;This will automatically set the value to 0 (even if it’s already been initialised).
Variable data types
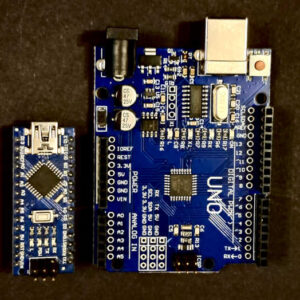
There are lots of data types available and you can even make up your own (that’s a post for another day). Here are some of the most common ones and the amount of memory they use on Arduino UNO R3 and Nano boards (note: the memory size of each data type does vary by system, so please do your research if you’re using a different board).
| Data type | Arduino keyword(s) | Memory usage | Value range | Example |
| Void | void | 0 bytes | 0 | void setup() {} |
| Boolean | bool | 1 byte | true or false / 1 or 0 | lightStatus = true; |
| Character | char | 1 byte | a to Z, 0 to 9 and symbols | char letter = ‘A’; |
| Byte | byte | 1 byte | 0 to 255 | byte number = 42; |
| Integer | int | 2 bytes | -32,768 to 32,767 | int number = -10000; |
| Unsigned Integer | unsigned int | 2 bytes | 0 to 65,535 | unsigned int number = 60000; |
| Long | long | 4 bytes | -2,147,483,648 to 2,147,483,647 | long number = 200000; |
| Unsigned Long | unsigned long | 4 bytes | 0 to 4,294,967,295 | long number = 3000000000; |
| Float | float | 4 bytes | -3.4028235 x10^38 to 3.4028235 x10^38 | float number = 3.1416 |
You’ll have already seen the first data type, void. It’s used when the setup() and loop() functions are initialised. We’ll cover functions in more detail in another post. For now though, know that functions may return a value of some data type and, therefore, we need to tell the Arduino board what type this is so that we can ensure there’s enough space in memory to store it. The setup() and loop() functions don’t return any value, so they’re assigned the void data type. This tells the microcontroller that we don’t need to save any memory for any value that may be returned.
The Boolean data type is literally a waste of space! It can only hold two values and so is useful to know the state of an on / off device, or to flag whether a specific option has been selected. I call it a waste of space because, although only one bit is necessary to store the information, an entire byte is used (8 bits).
Integers are waht you’re more likely to be familiar with. They’re pretty much ‘normal numbers’.
Many data types can be either negative or positive. By using the ‘unsigned’ keyword, you set the variable to only store positive numbers and so it will hold number up to twice the value at no extra memory storage cost.
The long data type is used for storing much larger numbers and is most commonly used in conjunction with the millis() function to count and compare the number of milliseconds since power on.
The last data type in the table, float, is used for storing decimal values and is used for more precise measurements and calculations. The range of values held is a little misleading as it suggests that values can be held to over 38 decimal places. In fact, in can hold up to 8 numbers at a set decimal place. So, it can hold 1234.5678, or, 1.2345678.
Why use variables?
Variables are used for a few different reasons. The main two are to aid in development and to enable a value to change while the system is running.
A development use would look like this:
byte LEDPin = 13; // Initialise LEDPin as a byte (maximum value 255) and set it to 0

void setup(){
  // Void means that no data will be returned from this function
  // The code in the setup() function only runs once

  pinMode(LEDPin, output); // Sets the pin number stored in LEDPin to the type output
}

void loop(){
  // As with the setup() function, the loop() function does not return data and so it is assigned the void data type
  // The code in the loop function runs continuously until power is removed

  digitalWrite(LEDPin, HIGH); // Sets the pin number stored in LEDPin to High
  delay(1000); // Pauses code execution for 1 second
  digitalWrite(LEDPin, LOW); // Sets the pin number stored in LEDPin to Low
  delay(1000); // Pauses code execution for 1 second
}
Now, let’s say you want to redesign your circuit and you want to use a different pin for the LED. If a variable wasn’t used here, there would be three values to change. That’s not too bad, but in more complex programs there can be many more values to update and they can be tricky to spot. With the example above, you only have to change the value in one line, byte LEDPin = 13;.
It’s also helpful to store other values that won’t change during operation but might change during development as this makes it simple to make tweaks and changes.
Variables become more interesting when the values held do change during the operation of the Arduino board. This example counts seconds from when the board is powered on:
byte seconds = 0; // Initialise seconds as a byte (maximum value 255) and set it to 0

void setup(){
// Void means that no data will be returned from this function
// The code in the setup() function only runs once

  Serial.begin(9600); // Start serial communications
}

void loop(){
// As with the setup() function, the loop() function does not return data and so it is assigned the void data type
// The code in the loop function runs continuously until power is removed

  Serial.println(seconds); // Sends out the value currently held in the seconds variable to the Serial Monitor

  delay(1000); // Pauses code execution for 1 second

  seconds++; // Increments the seconds variable by 1
}
When you upload the code and enable the Serial Monitor in Arduino, you’ll see a number being sent from the Arduino that counts up after each second. Not the most interesting of examples, but nice and simple. In reality, you could count button presses, the number of times a sensor is triggered the amount of time a buttone is held and so on.
Why count?
In the above example we counted seconds since power on. While not the most rivetting stuff we’ll cover, we could use this code as a base and have things happen at specific counts. We haven’t covered how we do this yet (conditionals), but we will.
We could also have multi function buttons that do different things depending on the amount of time they’re pressed, have an alarm sound when a sensor triggers after so many times, keep score or and monitor the number of lives remaining in a game and more.
What happens if I count too far? (Overflow)
You’ll see in the above code example that I’ve made a poor, but deliberate (honest!) design choice. I’ve chosen to store the seconds variable as a byte. This means that it can only store numbers up to 255. What happens when it gets to 256?
Well, let’s change line 16 to:
delay(100);When you run this, it’ll run 10 times faster and we’ll be able to see what happens.
Ultimately, you get what’s known as an overflow. In Arduino, this normally means the number will reset to the lowest possible value (0 for a byte). It’s important to be aware of overflow errors as they can be hard to spot and are likely to cause unexpected behaviour rather than errors in compiling.
What is variable scope and why do I need to care?
Variable scope is important when it comes to writing your code, but it can be difficult to explain.
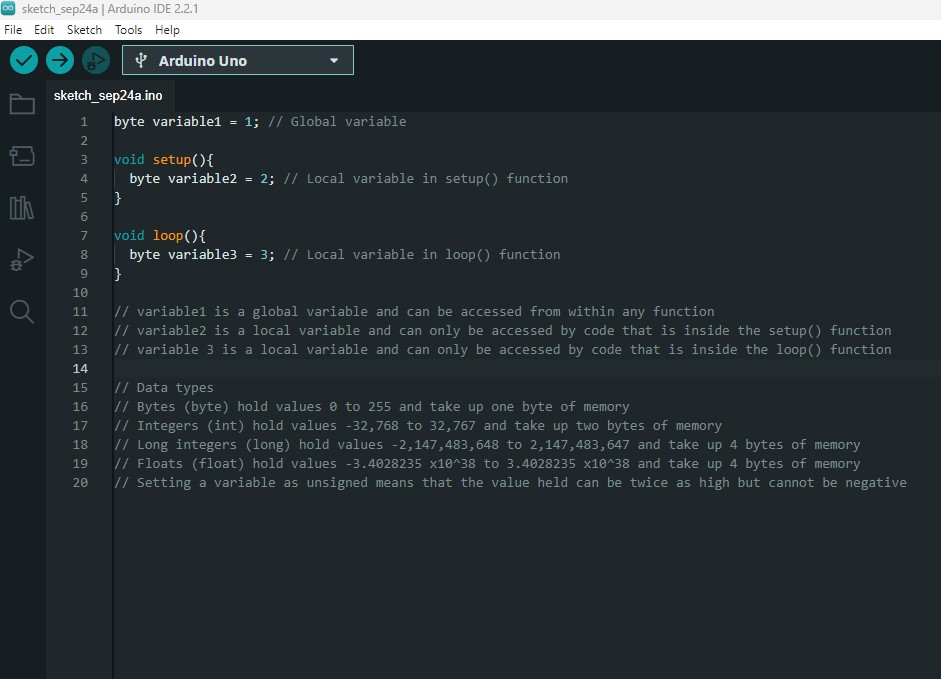
To put it simply, if a variable is initialised outside of a function, it’s considered to be a global variable and can be accessed in any function. However, if a variable is initialised within a function, it cannot be accessed from outside that function. See the below example:
// Initialise variable1 as an integer and set it to 10
// As this initialisation does not take place inside a function, e.g. setup() or void(), it's considered a global variable
// Global variables can be accessed from inside any function
int variable1 = 10;

void setup(){
  // Void means that no data will be returned from this function
  // The code in the setup() function only runs once

  Serial.begin(9600); // Start serial communications

  // Initialise variable2 as an integer and set it to 20
  // As this initialisation takes place within the setup() function, it can only be accessed from within that function
  int variable2 = 20;

}

void loop(){
  // As with the setup() function, the loop() function does not return data and so it is assigned the void data type
  // The code in the loop function runs continuously until power is removed

  // Initialise variable3 as an integer and set it to 30
  // As this initialisation has taken place within the loop() function, it can only be accessed from within that function.
  int variable3 = 30;

  Serial.println(variable1); // Sends out the value currently held in the variable to the Serial Monitor

  // Try swapping out variable1 in the above line of code to variable2, what happens? Try swapping it to variable3, what happens then?

  delay(1000); // Pauses code execution for 1 second

}
In this example, we initialise three variables. variable1 is initialised outside of any functions and so is a global variable. variable2 is initialised inside the setup() function and so can only be accessed by code that is run within that function. variable3 is initialised inside the loop() function and so can only be accessed by code that’s run within that function.
When we run the above code, we see that we can easily print the value stored in variable1 from within the loop() function.
If we swap out variable1 for variable2 in line 26, you’ll see that we can’t print the value held because it was initialised in the setup() function. The compiler will throw up an error: ” ‘variable2’ was not declared in this scope “.
If we swap out variable2 in line 26 one more time, to variable3, you’ll see that things run smoothly again as, even though the variable is not a global variable, it’s been initialised inside the loop() function and so can be accessed by other code in the same function.
Are variables initialised in the loop() function the same as global variables?
While early projects are likely to have the majority of their code inside the loop() function, initialising a variable inside that function is not the same as initialising the variable as a global variable. As your projects grow and become more complex, you’re likely to start writing your own functions to keep code grouped together by functionality (we’ll cover this in another post). When you do write your own functions, you’ll be able to access global variables, but you won’t be able to access variables initialised in the loop() function.
Another point to consider is that the loop() function runs repeatedly. If you initialise a variable in this function, it’ll reset every time that line of code is run. This shouldn’t stop you from initialising variables in the loop() function, but, should be ocnsidered when you’re writing your code.


